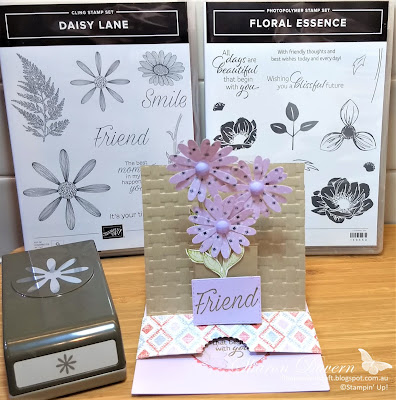
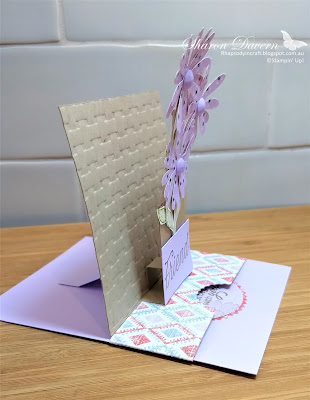
Tonight the Art with Heart team are sharing creative projects featuring Simple Stamping, which means our projects feature only paper, stamps and ink. It’s a great way to create a quick and easy card for new stampers or for when you need a card at short notice. These projects highlight how Stampin’ Up! ink, paper and card stock coordinates perfectly.
If you would like a copy of the 2019 - 2020 annual catalogue, contact any of the girls on the blog hop and we will get in touch with you.
I have a few different cards to show you for our Simple Stamping Blog Hop tonight.
I have really been enjoying using the Daisy Lane stamp set so I have paired it with the Thank you sentiment from the Daisy Delight stamp set for my first set of cards.
For this first card I have done the same card but in 4 different ways.
The first way I used a post it note to help guide where I might stamp the gorgeous daisies from the Daisy Lane stamp set.
As you can see I just popped it in the middle of the card and then proceeded stamp around the edge of the Thick Whisper white card stock. I chose the Thick Whisper white card as it is a great card to start with for any beginner stamper. I used a few different colours here but you don't have to you could use just one or 2. Everyone has post it notes hanging around at home and if you don't ask your kids or grandkids they need them for school so you can borrow some from them.
As you can see when you take off the post it note you have this beautiful clear spot for your Thank You or Happy Birthday etc. The colours that I have used in these Daisy cards are Rococo Rose, Daffodil Delight, Flirty Flamingo, Old Olive and Smokey Slate. What colour combo would you use?
Ok so the second way you could do this card is just to go completely free hand without the guide of the post it note.
So completely an easy thing to do I started with the Rococo Rose daisies in the corners, then the daffodil delight on the sides and the flirty flamingo daisies and filled in the spaces with the old olive ferns before adding in the sentiment in the middle of the card.
If you have some other coloured card stack you could add a little bit of extra interest you your card by stamping your sentiment on a piece of whisper whit card and then back it in one of the colours that you choose for your flowers. We love how Stampin' Up! has everything match so easily.
Now I have one more step up of this card for you to see. I have stamped the daisies on some whisper white card stock but have used the new in colour Rococo Rose as the card base to this card.
For my next card have used the gorgeous Perennial Essence DSP. Stampin' Up have such gorgeous Designer Series paper that you can use a piece of place it on the the front of your card and your decoration is almost done. Just put a sentiment on the front.
I decided to stamp the beautiful flower from first frost on some whisper white and then the large thinking of you from the Rooted in Nature.
To show off the gorgeous DSP I have cut the front of the card base a little short so that you can see the other side of it. DSP has 2 sides and it is a shame to not to show them both off.
Now for my final card tonight I have really gone all out with the gorgeous DSP and use the Pressed Petal DSP. I saw this design on Ronda Wades facebook page and just adjusted the measurement for our Australian card sizes plus changed it up a bit to fit with our theme of simple stamping of only using paper, stamps and ink,
As you can see this is a tri fold card but don't let that fool you to think that it is hard. Really simple to make. The card base is like a normal card base but just cut it in half. Then with get your gorgeous DSP and you can cut that in half to make it a 6x12 inch piece. I then trimmed that down a little bit make it have a border and a little off then end folded it into 3.
On the front I have stamped on Whisper which a little border stamp in crumb cake and then the sentiment in Rococo Rose.
Hope you enjoyed these few ideas of simple stamping if you have any questions please let me know and I will be happy to help you .
Now it is time to head over to the talented Vicki Boucher to see her creations.
If you find a broken link or have come to this blog hop from a different entry point, you can view the participants below:
Tina Gillespie
Tina Gillespie
Sharon Davern <= You are here
Thank you for spending some time with me today
Take care,


.jpg)
.jpg)

.jpg)