Welcome to my happy place.

Hi,

Welcome to my blog. Thank you so much for stopping by. I hope that you will find some inspiration for your projects as I have from many lovely people. This is just a little space for me to share some of my cards, scrap book pages and maybe even some of my embroidery and quilting projects.

Enjoy and stop back often.

Sharon


Wednesday 29 June 2022

Colour Creations Blog Hop - Week 9 - Blackberry Bliss


Welcome to week 9 of the Colour Creations Blog Hop and this week we are celebrating, ok so celebrating is not the right word, but hey each week we should have a party for each of the colours don't you think? So this week we are having a party for my favourite colour Blackberry Bliss!
Rhapsody in craft, #colourcreationsbloghop, Blackberry Bliss, Stampin' Up!

I have moved away from my Cottage Rose collection and I have made a fancy fold card with the Nature's Print Bundle and the Pretty Prints DSP. I think I will call this fancy fold a Folding Screen slimline card. It reminds me of the Old Fashioned screens for partitioning parlours.
Rhapsody in craft, Blackberry Bliss, Slimline card, Slim line Card, Thinking of you cards, Nature's Prints Bundle, Nature's Prints Stamp Set, Natural Prints Dies, Pretty Prints DSP, Fancy Folds, Folding Screen Card, Stylish Shapes Dies, Spinner Card,#colourcreationsboghop,Stampin' Up

When I saw these gorgeous papers in the pack of Nature's Prints DSP I just knew I had to show them off for Blackberry bliss week.
Rhapsody in craft, Blackberry Bliss, Slimline card, Slim line Card, Thinking of you cards, Nature's Prints Bundle, Nature's Prints Stamp Set, Natural Prints Dies, Pretty Prints DSP, Fancy Folds, Folding Screen Card, Stylish Shapes Dies, Spinner Card,#colourcreationsboghop,Stampin' Up

This is one side of the card and 
Rhapsody in craft, Blackberry Bliss, Slimline card, Slim line Card, Thinking of you cards, Nature's Prints Bundle, Nature's Prints Stamp Set, Natural Prints Dies, Pretty Prints DSP, Fancy Folds, Folding Screen Card, Stylish Shapes Dies, Spinner Card,#colourcreationsboghop,Stampin' Up
....this is the other side.

I have taken a little video to show you how the Folding Screen card with Spinner inserts works.

So how did I put it all together?

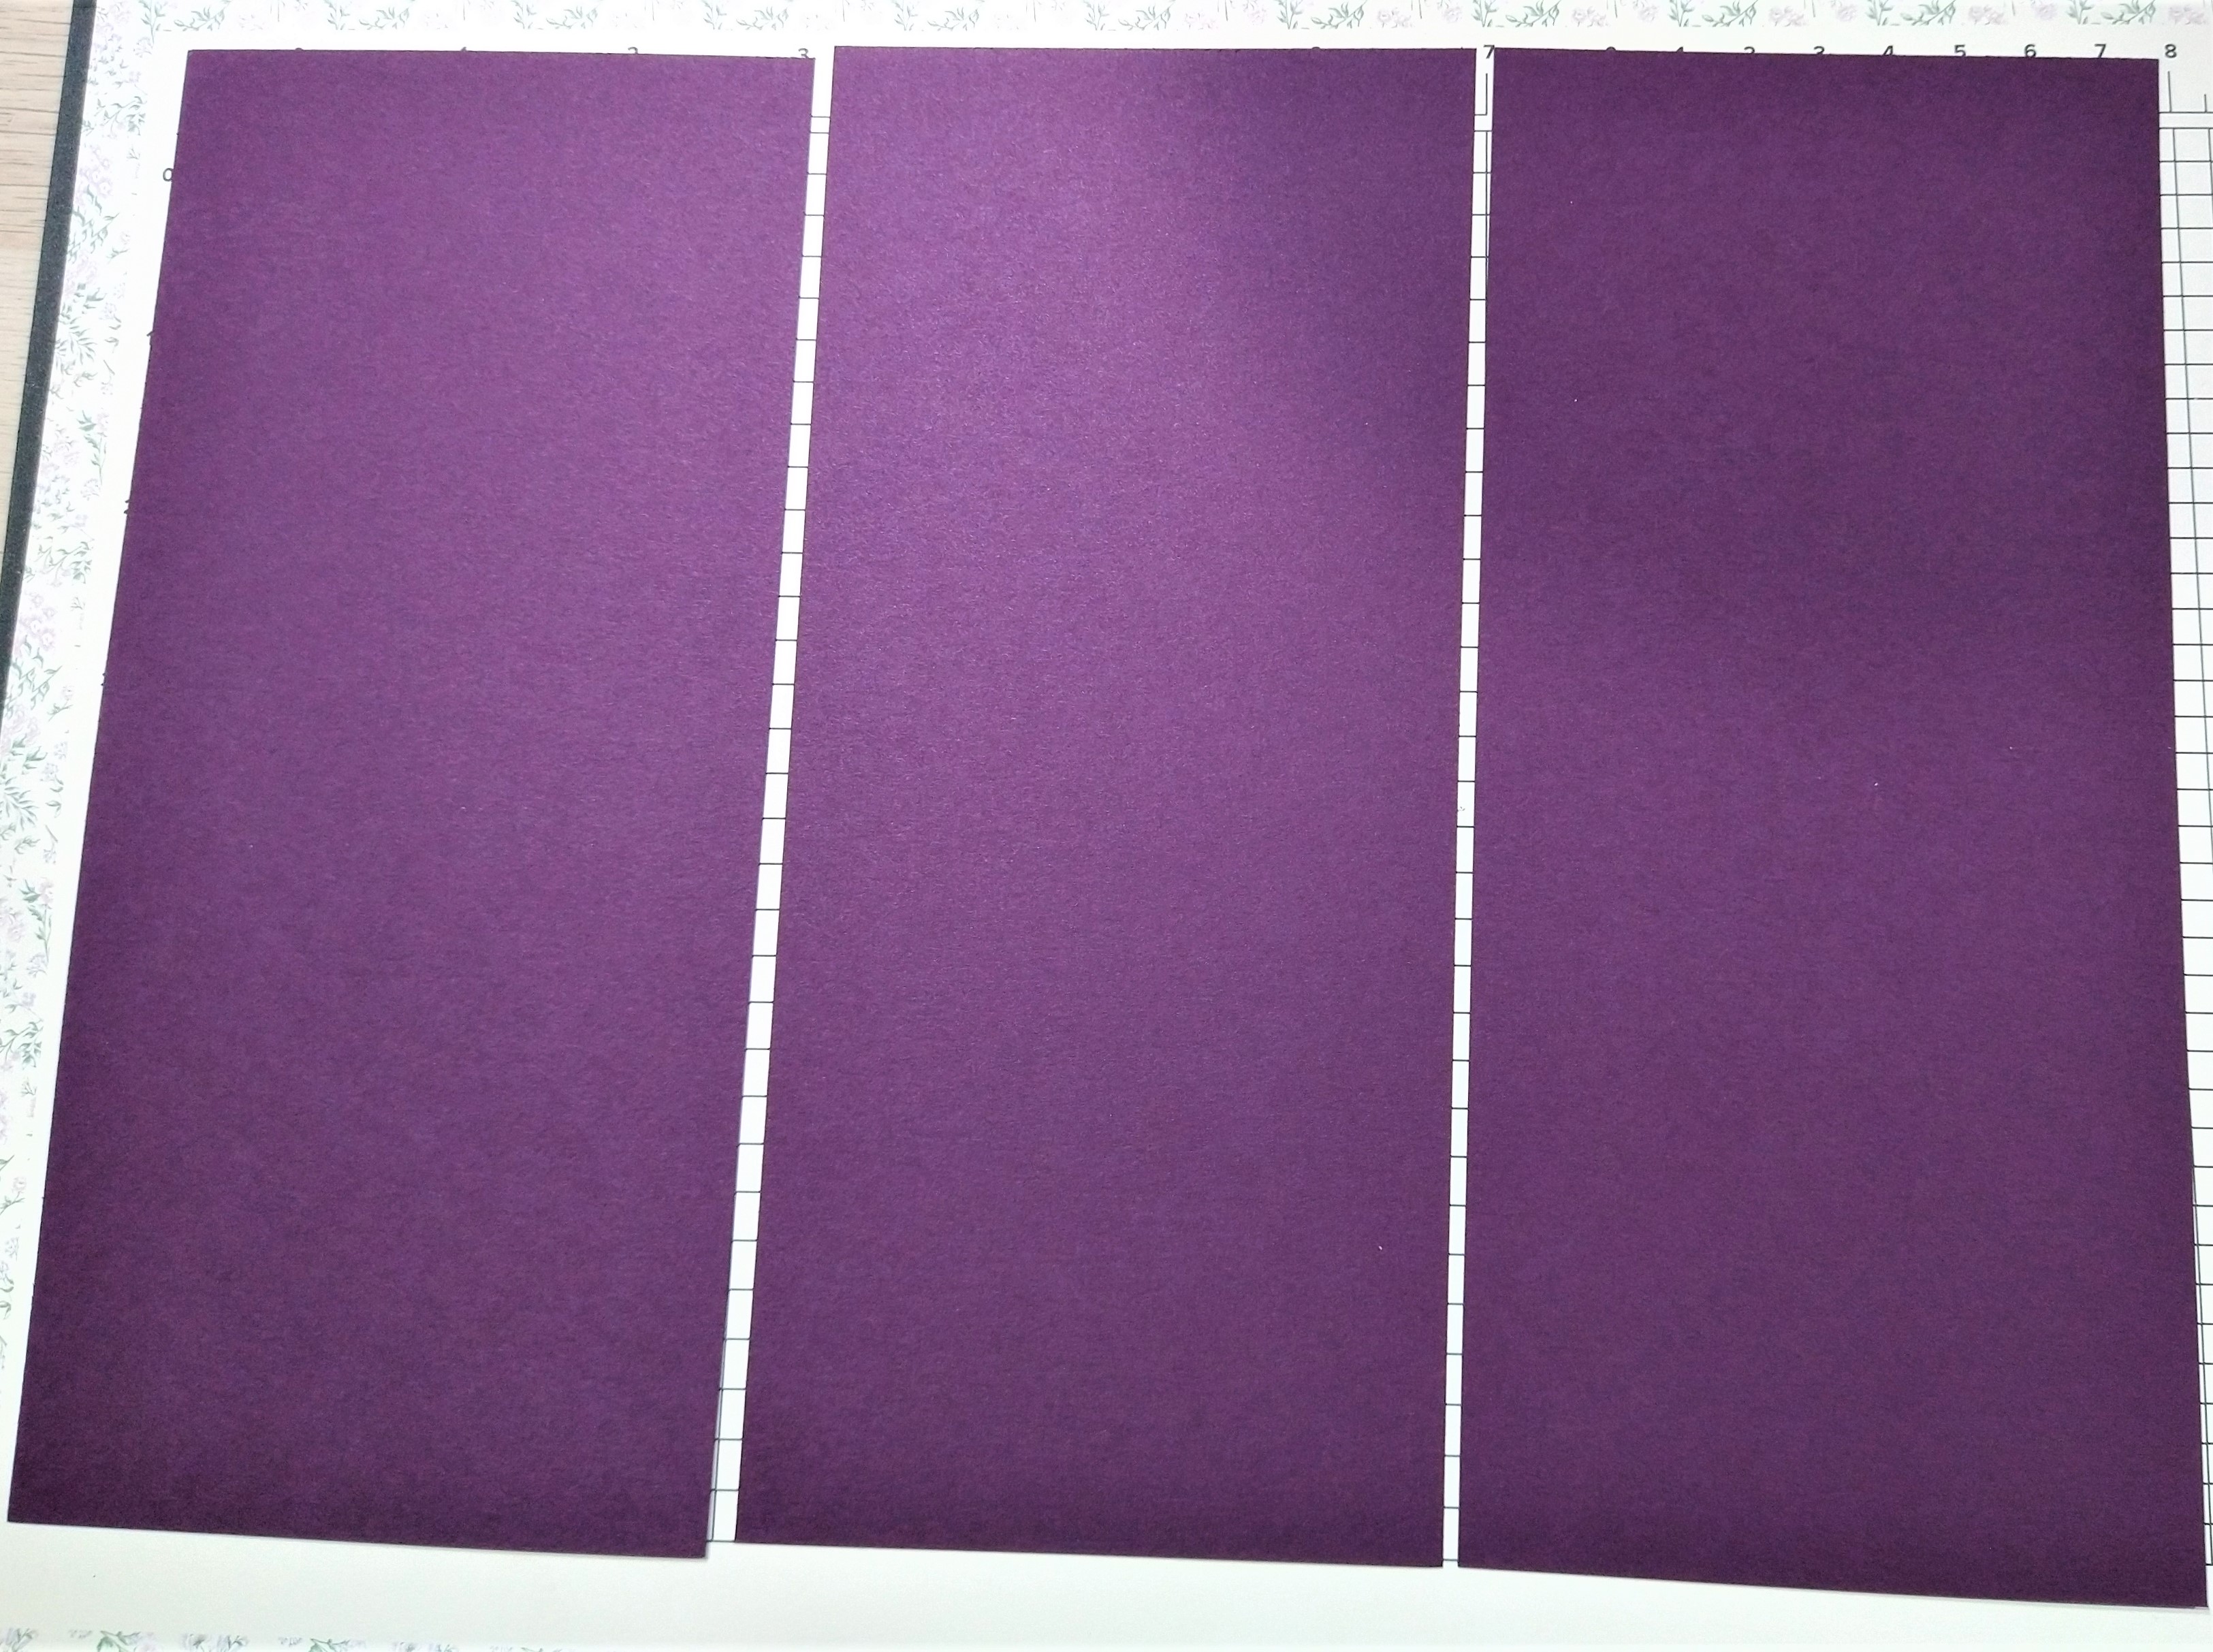
I first cut 3 panels of Blackberry Bliss cardstock slightly narrower than a slimline card as you are putting 3 pieces together so it is a bit more bulky than just a normal folded slimline card. 
I cut the gorgeous Pretty Prints DSP to leave a small border of the Blackberry card stock and you need 6 pieces of this one for each side of the card base.
Adhere the Pretty Prints DSP on 1 side only and then using the largest of the circle die from the Stylish Shape dies I cut out the openings for my spinner sections. 1 at the top or one, bottom of the other and the middle of the middle. I eyeballed it but you can measure if you want to be precise as I know there are some of you out there that just have to make sure! Also at this time cut out the circles on the 3 pieces of DSP that are not attached to the card. This takes a little bit of placing and measuring to get in the correct place.
Flip your card over and using the black bakers twine from the Baker's Twine Essentials Pack I attached a stretched out piece with a mini glue dot.
Do this for all 3 sections

Now you can adhere the other piece of Pretty Prints DSP over the top of the Baker's Twine side so that it is secure in place.

To join all your screen sections together cut little pieces of Blackberry Bliss card stock and use the Tear 'N' Tape to adhere them to your screens. You need something pretty strong to hold it together.
Now all 3 sections are together it it time to decorate the spinner sections!

So take the pieces that you have cut out of the card base already and using a smaller Stylish Shape Die cut out the centre of the circle.

Do this with the 3 that are adhered to the card and the 3 that are DSP only so that you have 6 smaller circles.

Now adhere them over the Bakers twine one side with the card stock and DSP, Baker's twine in the middle and then the single piece of DSP. Do that for all 3 sections.
 

Petal Pink goes so well with Blackberry Bliss so I have used that as my Basic White layer so to speak for writing and stamping on. I have stamped the sentiments in Blackberry bliss and cut them out using the Stylish Shape Dies.

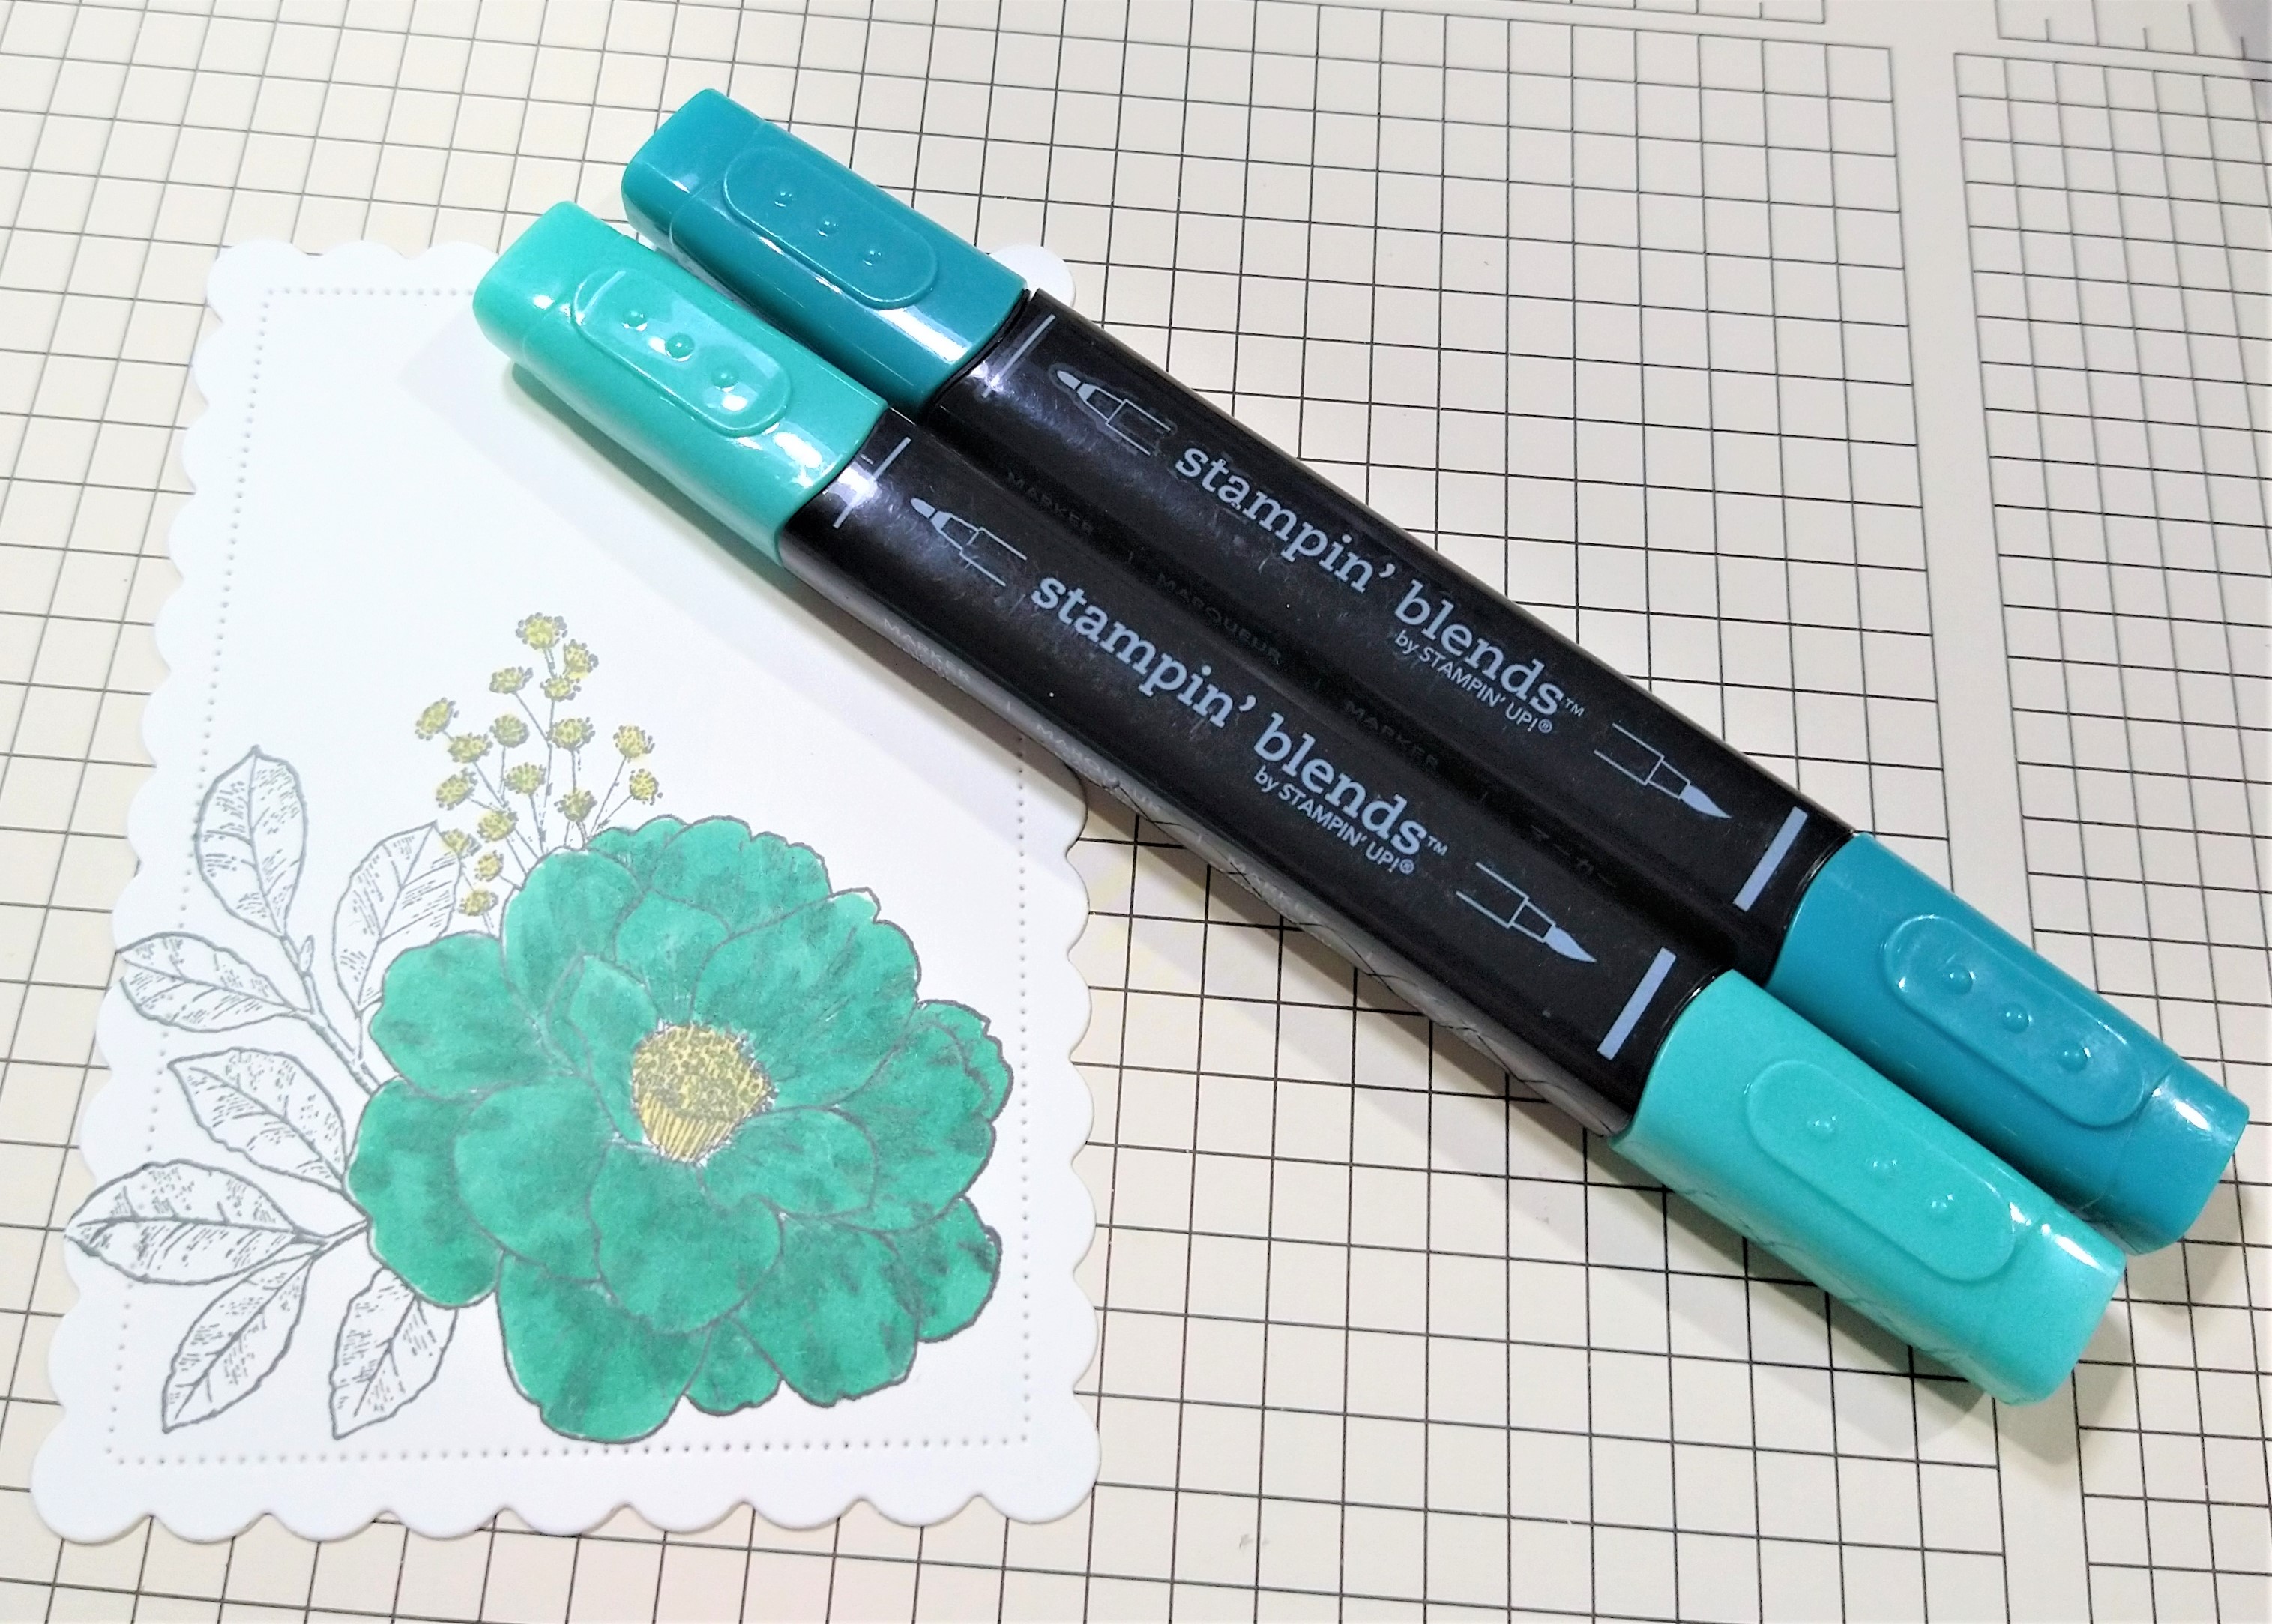
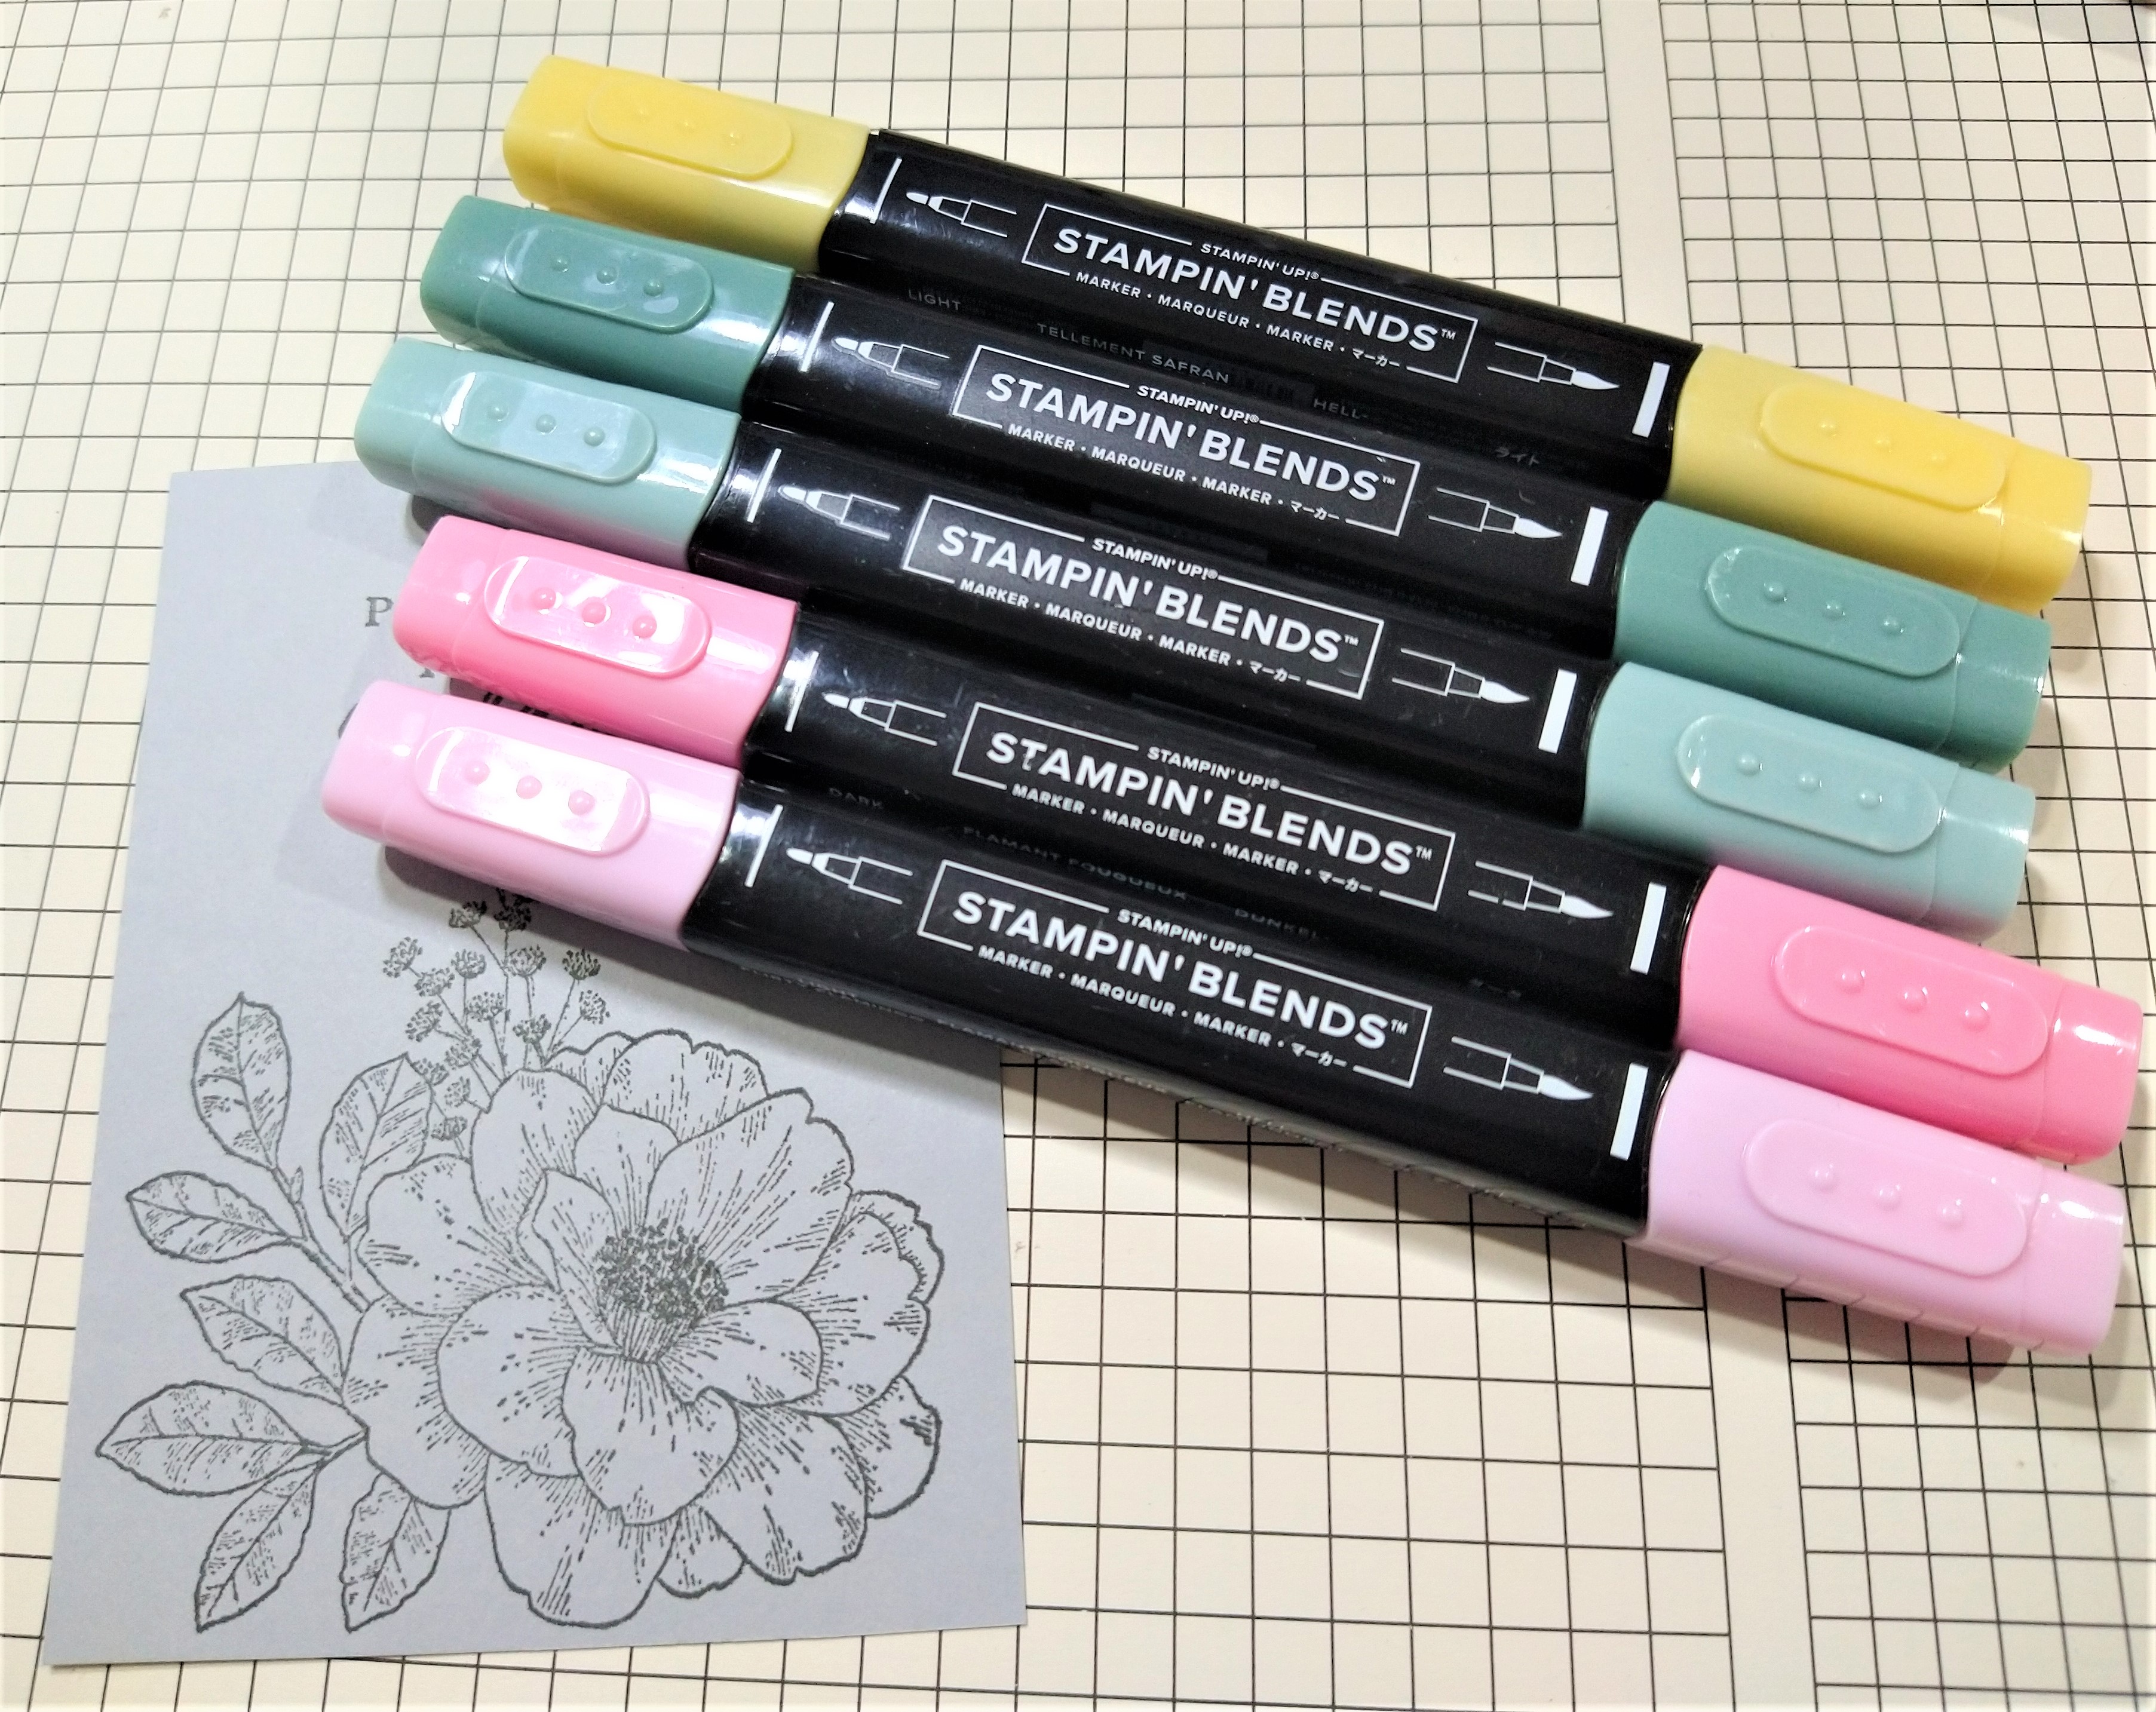
For the flower spray on each of the other sections I have stamped the flower from the Nature's Prints Stamp Set in Blackberry Bliss on Petal Pink card and then with the Blender Pen I have just pulled some of the Blackberry Bliss ink out from the centre of the flower into the petals to shade them a little. I have dotted them with the Polished dots and if you are real quick you can order them today as they are retiring tomorrow!
I have used crumb cake and pear pizzazz for the foliage behind the flowers and I cut them all out with the Natural Prints Dies then I cut the flower up to fit in the circle window. Topped off with a bakers twine bow!
I couldn't leave the hinges plain so I took out the  big leaf wreath die from the Natural Prints Dies and cut a few out in Petal Pink. The "Dots" are the little pieces you have left over, the scraps once the leaves are cut. I thought perfect I can use those to decorate my hinges!
Because I didn't want to add a section to the screen for writing I have created another piece for writing to accompany the card. Of course I have stamped it with the flower and used the blender pen again to draw out the Blackberry Bliss into the petals. And don't ignore the back put some of this gorgeous Blackberry Bliss Pretty Prints Paper on the back of the card here as well!
Rhapsody in craft, Blackberry Bliss, Slimline card, Slim line Card, Thinking of you cards, Nature's Prints Bundle, Nature's Prints Stamp Set, Natural Prints Dies, Pretty Prints DSP, Fancy Folds, Folding Screen Card, Stylish Shapes Dies, Spinner Card,#colourcreationsboghop,Stampin' Up

Wow that was a long post so thanks for sticking with me through all the elements of this Thinking of you fancy fold card. Now although it is a slimline card it is a little bit big in this form to fit into the Stampin' Up slim line envelopes but it fits perfectly in a business size 22 cm x 11 cm. Next time I will have to make it a little less bulky to fit into the Stampin' Up! envelopes!

If you have any questions about this card or how to get your hands on these fantastic products please don't hesitate to contact me.
Now is the time to head to the next very creative person on our journey in Blackberry Bliss and this week we will be heading to Amie McIlroy, I can't wait to see what she has for us this week so just hit the next blog button to go straight there.
If at anytime one of the next blog buttons doesn't work just come back here and you can go to the blog of our weekly host Cathy Proctor, she will have the list of everyone participating and you can continue your journey in Blackberry Bliss from her blog: Cathy's Blog

Thank you for spending some crafty time with me today, take care,


Wednesday 22 June 2022

Week 8 - 2022 -23 - Colour Creations Blog Hop - Bermuda Bay

Welcome to week 8 of the Colour Creations Blog Hop for 2022-23 and this week we are looking at the bluey green or is it greenie blue colour in the Brights Collection, Bermuda Bay!

Bermuda Bay, Rhapsody in craft,#rhapsodyincraft,#colourcreationsbloghop
I have continued my small collection of Cottage Rose cards this week and made you a different take on last weeks layout.
Rhapsody in craft, #rhapsodyincraft, Cottage Rose, Bermuda Bay, #colourcreationsbloghop,Scalloped Contour Dies, Blending Brushes, Polished Dots, Stampin' Blends, Get Well Card, Stampin' Up!
Well this was another fun and quick card to make using the Cottage Rose stamp set.

I stamped the large Rose image on Basic White and then took out the Scalloped Contour Dies and cut out the image for the focal point of the card.

On another layer of Basic white I used the blending brushes and some Bermuda Bay ink and blended some ink just in the area around where the Cottage rose layer would be to highlight it.

Then I got out the trusty Stampin' Blends and coloured the rose, first with dark So Saffron

Then with light and Dark Bermuda Bay.


A little Light and Dark Soft Sea Foam for the leaves.


And for something a little different I used the colour lifter to add a little light bouncing off the petals

This white crinkle seam binding is the best for colouring with your Stampin' Blend so I did just that with the Dark Bermuda Bay.

Tied it around the middle of my blended brush layer and adhered it to the card base of Bermuda bay.      


I popped the front layer up on some dimensionals but before that I stamped the sentiment from the Cottage Rose stamp set. Bit hard to do once you put on the dimensionals. No I did not try after putting on the dimensionals! 😂


Rhapsody in craft, #rhapsodyincraft, Cottage Rose, Bermuda Bay, #colourcreationsbloghop,Scalloped Contour Dies, Blending Brushes, Polished Dots, Stampin' Blends, Get Well Card, Stampin' Up!

The card is now complete or you can add some bling. I added some polished dots which are retiring next week so get in quick if you want them.
Rhapsody in craft, #rhapsodyincraft, Cottage Rose, Bermuda Bay, #colourcreationsbloghop,Scalloped Contour Dies, Blending Brushes, Polished Dots, Stampin' Blends, Get Well Card, Stampin' Up!l

If you have any questions about today's project or would like to get you hands on some of these beautiful projects do not hesitate to contact me.
Now is the time to head to the next person on our journey of Bermuda Bay and today we will be going to Amie McIlroy, I love seeing what she makes each week. Just hit on the next blog button and you will go straight there.
If at any time the next blog buttons don't work just come back here and head to our blog host Cathy Proctor. Each week Cathy has the list of everyone participating and you can continue your journey of Bermuda Bay there: Cathy's Blog

Thank you for spending some crafty time with me today, take care


Wednesday 15 June 2022

Colour Creations Blog hop - 2022-23 - Basic Gray


This week for our Colour Creations Blog Hop we are looking at one of the Neutrals and I find it somewhat hard to make them the star of the show as I always need to put in a pop of colour and I have done so again this time but Basic Gray still shines through!


I am continuing my small set of Cottage Rose cards without using the full suite to give you an idea of how versatile this stamp set is. Last week I did the fancy shutter fold card and this week a simple stamping card with a little embossing a colouring!

Rhapsody in craft, Basic Gray, Flirty Flamingo, Cottage Rose, Stampin' Up, Stampin' Blends, Quatrefoil Tile Embossing Folder, Friendship Card, #colourcreationsblophop,Annual Catalogue 2022-2

This is a simple and quick card to make and with using the Basic Gray as your foundation you can change up the colours very easily to make a lovely set of cards.

So how did I put it together.


I have a card base of Basic Gray and then a layer on top of Basic Gray that I have embossed with the NEW Quatrefoil Tile embossing folder. Of course if you don't have this yet you can use another embossing folder of just add a layer of plan Basic Gray but seriously look at this embossing folder it is gorgeous and you are going to want to have it! So add it to your next order, put it on your wish list now! It is so lovely in real life!
Then on a piece of Smokey Slate I stamped in Basic Gray the  large rose and the sentiment.


I took out my blends and went to work. I just love colouring with the blends. Ok I love to colour so it doesn't matter what different colour tool Stampin' Up! has I love to use them all.


I started with dark So Saffron

Added some Light and Dark Flirty Flamingo

Then some Dark and Light Soft Succulent and the colouring was complete.
Rhapsody in craft, Basic Gray, Flirty Flamingo, Cottage Rose, Stampin' Up, Stampin' Blends, Quatrefoil Tile Embossing Folder, Friendship Card, #colourcreationsblophop,Annual Catalogue 2022-2
Popped the focal point image on some Flirty Flamingo card.
Popped that on some dimensionals. I have used a few here as I don't like the middle to sag but you don't have to use this many. You are still looking at that embossing of the Quatrefoil aren't you? I am it is gorgeous!
Rhapsody in craft, Basic Gray, Flirty Flamingo, Cottage Rose, Stampin' Up, Stampin' Blends, Quatrefoil Tile Embossing Folder, Friendship Card, #colourcreationsblophop,Annual Catalogue 2022-2

Adhere your focal image to your card base and Quatrefoil layer and you are done for the outside. If you want to add some bling but I haven't done that this week.

Rhapsody in craft, Basic Gray, Flirty Flamingo, Cottage Rose, Stampin' Up, Stampin' Blends, Quatrefoil Tile Embossing Folder, Friendship Card, #colourcreationsblophop,Annual Catalogue 2022-2
Ok I said you were done but if you would like you could also use your Blending brushes with a little bit of Flirty flamingo to go around the edges of the Basic White card so that is not toooooo white and ties in the front of your card.
Rhapsody in craft, Basic Gray, Flirty Flamingo, Cottage Rose, Stampin' Up, Stampin' Blends, Quatrefoil Tile Embossing Folder, Friendship Card, #colourcreationsblophop,Annual Catalogue 2022-23

If you would like to get your hands on any of the products to make this card or what more information please do not hesitate to contact me. Just hit the contact button.


Now is the time to head to the next person on our journey of Basic Gray and today we will be going to Rachel Palmieri, I love seeing what she makes each week. Just hit on the next blog button and you will go straight there.


If at anytime the next blog buttons don't work just come back here and head to our blog host Cathy Proctor. Each week Cathy has the list of everyone participating and you can continue your journey of Basic Gray there: Cathy's Blog

 Thank you for spending some crafty time with me today. Take care,


Colour Creations Blog Hop - Week 44 - Real Red - Tiger Lilly

  Welcome to week 44 of the 2023-24 Colour Creations Blog hop. This week we are championing the colour Real Red! This week I have chosen to ...